Capstone Devlog #7
Week of March 8th - Doing knife UVs + checking things in Unreal
Knife UVS:
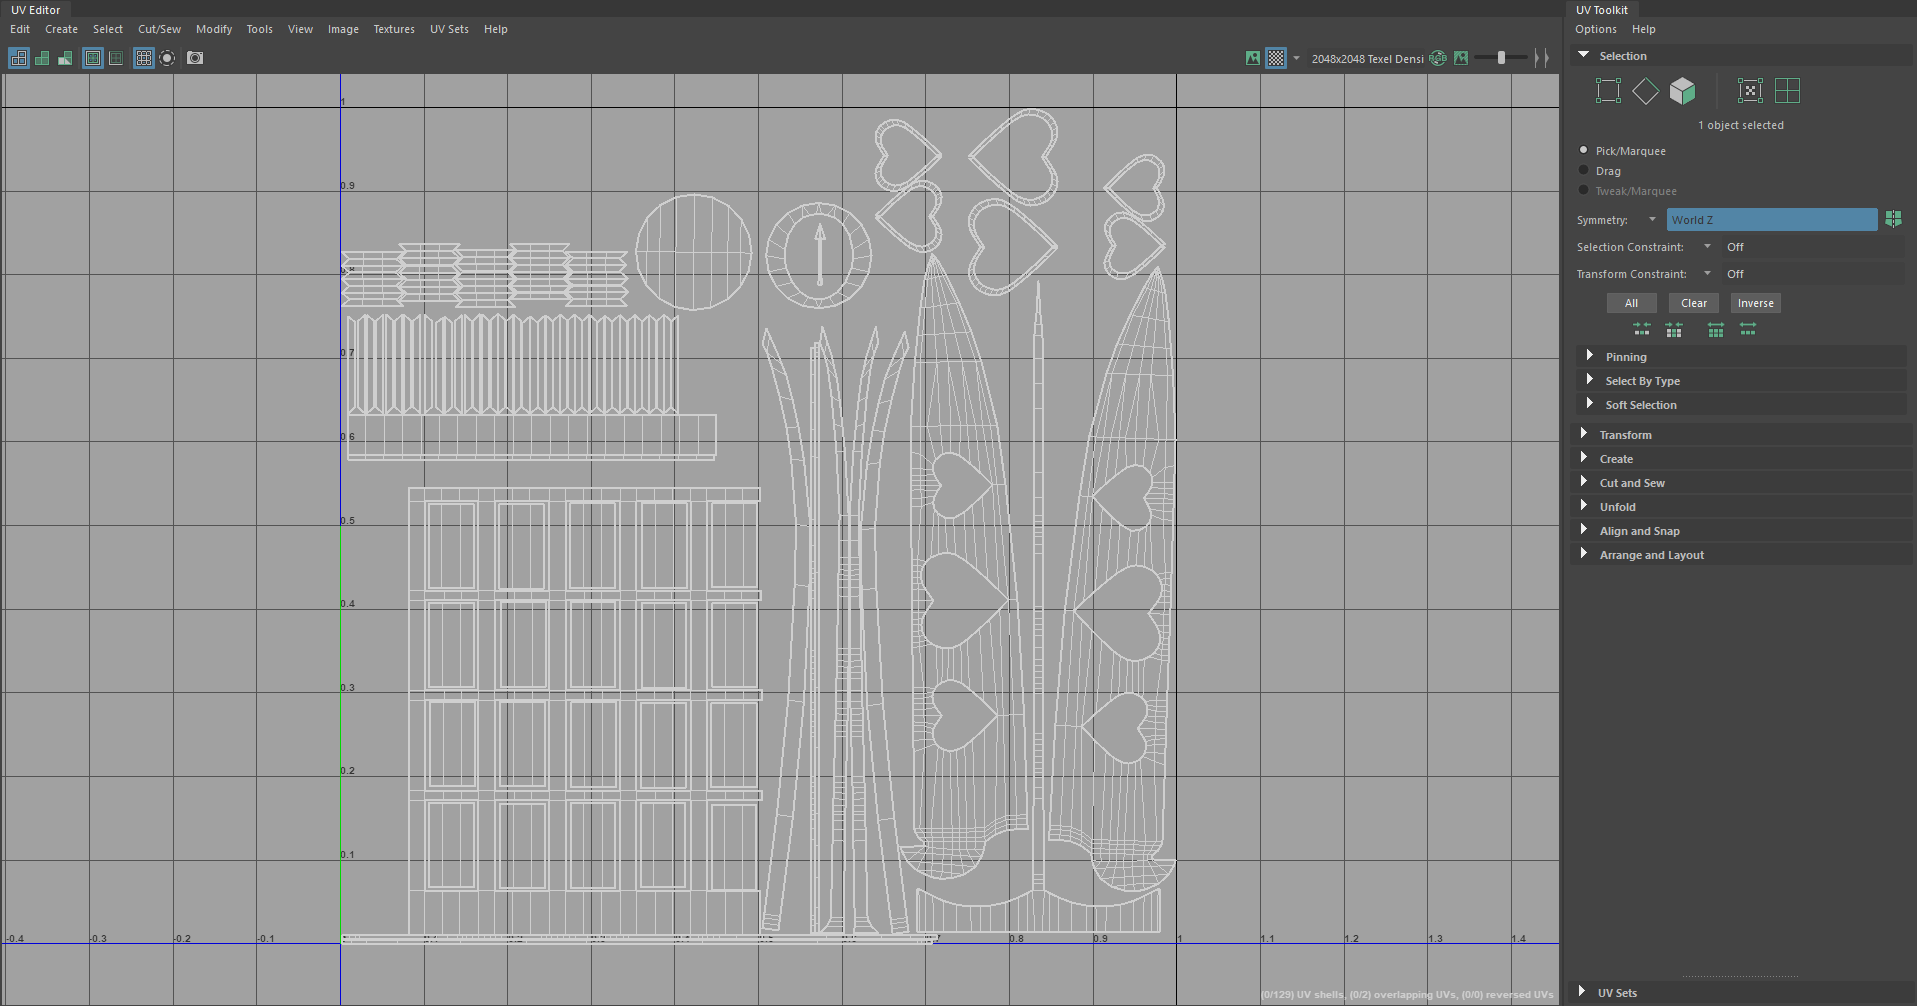
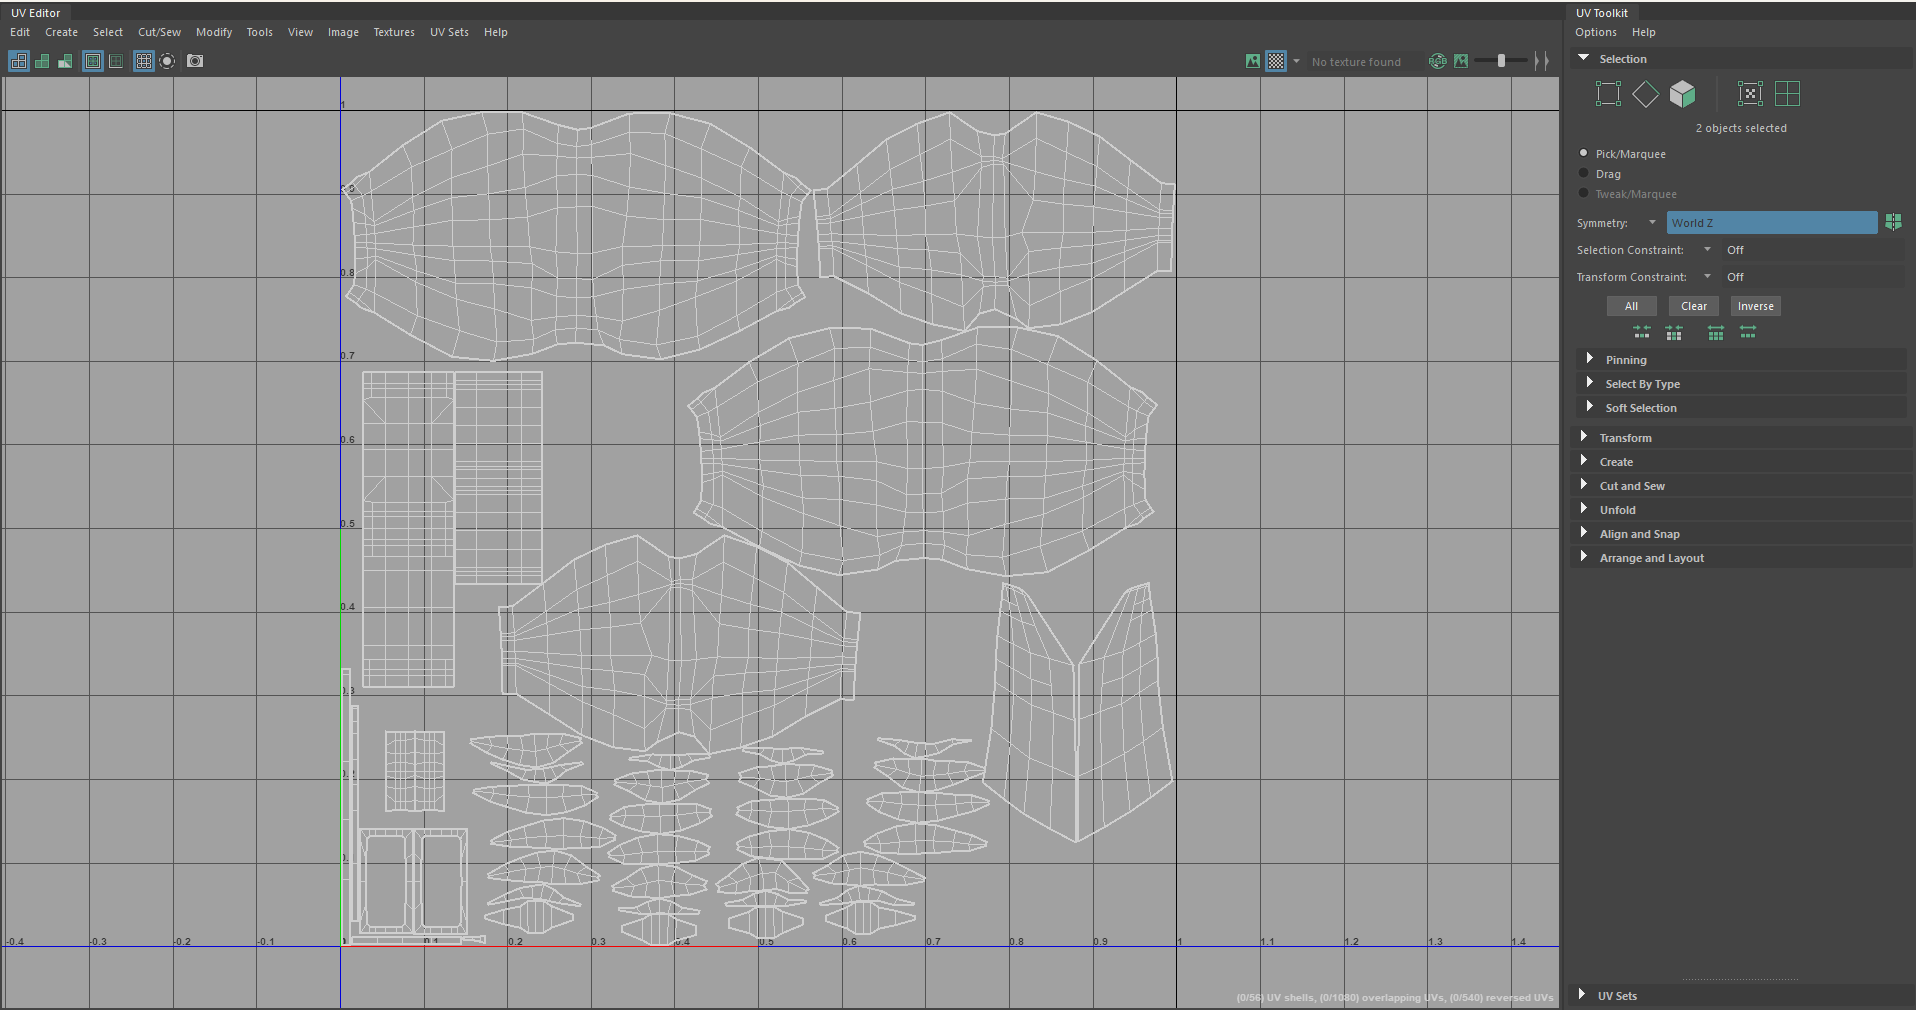
I'll click on my model and I create a camera based projection of the UVs found in the UV menu under Create. Then, I select all the hard edges using the hard edges selected constraint (mentioned in the previous posts), and I click cut in the UV menu under Cut and Sew.
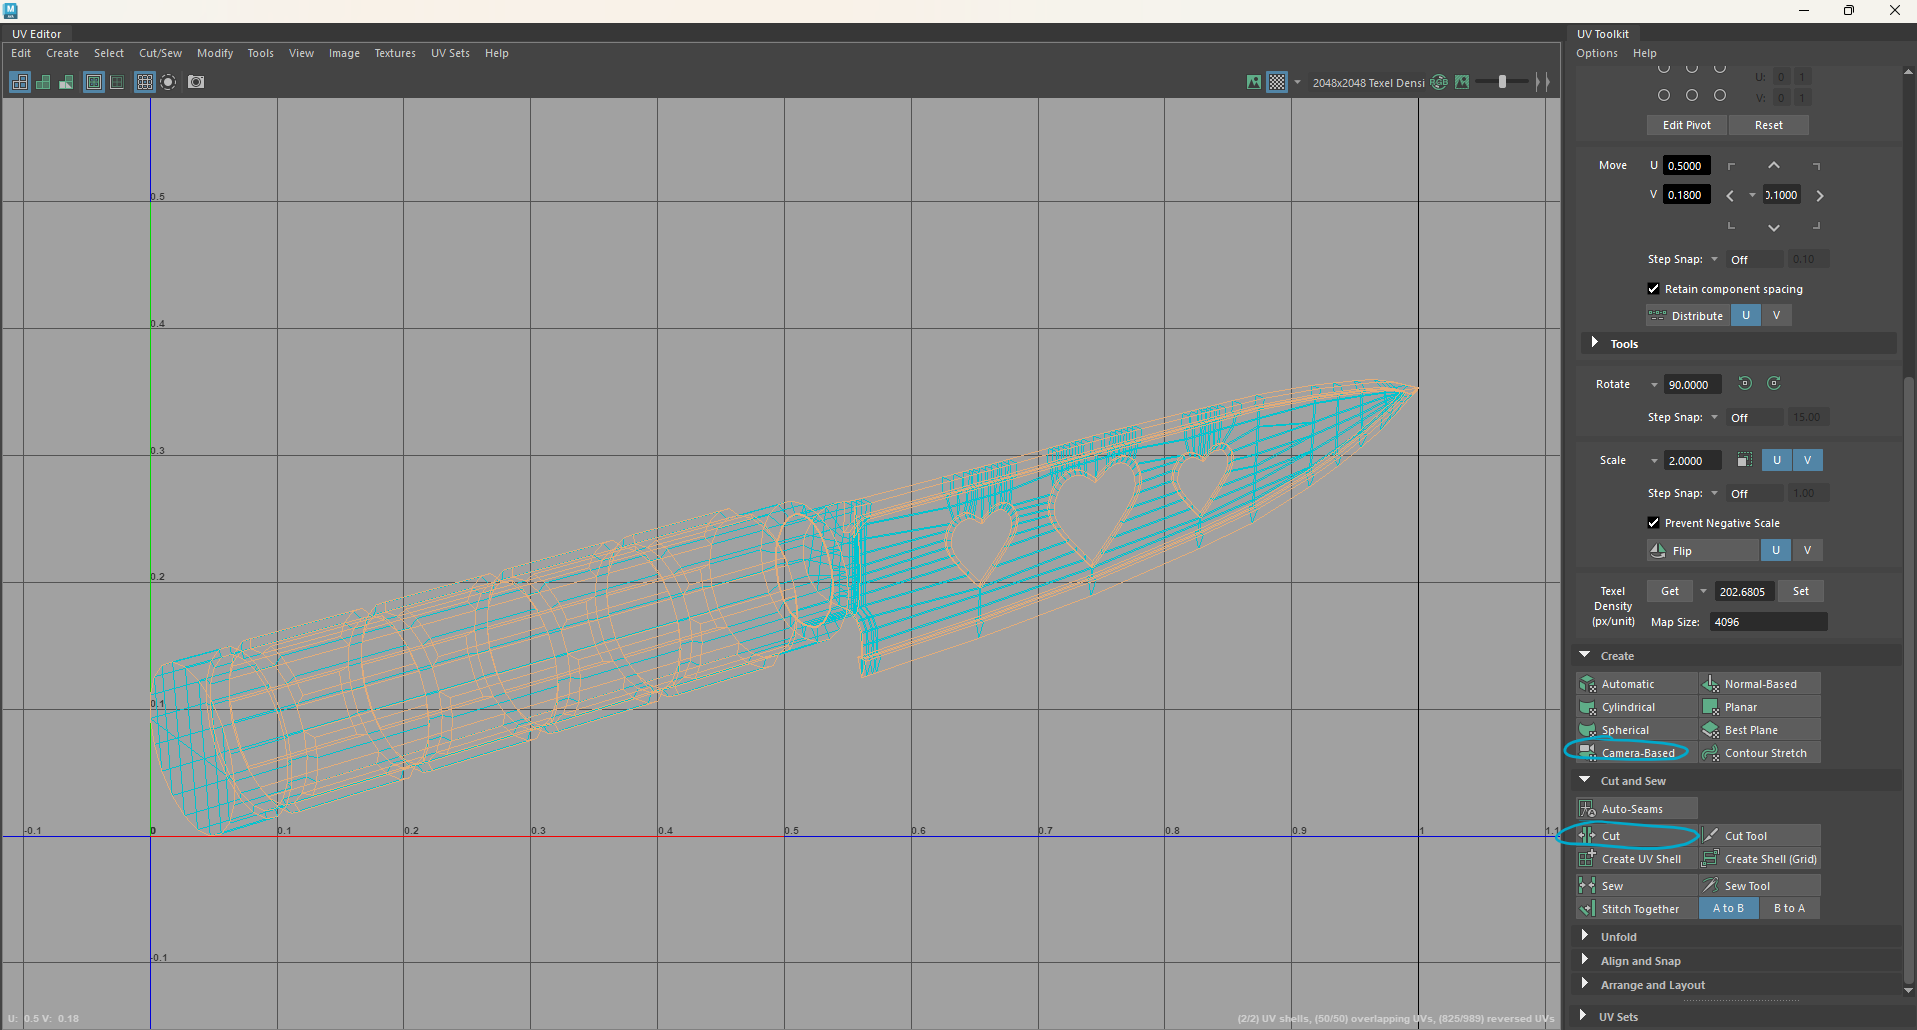
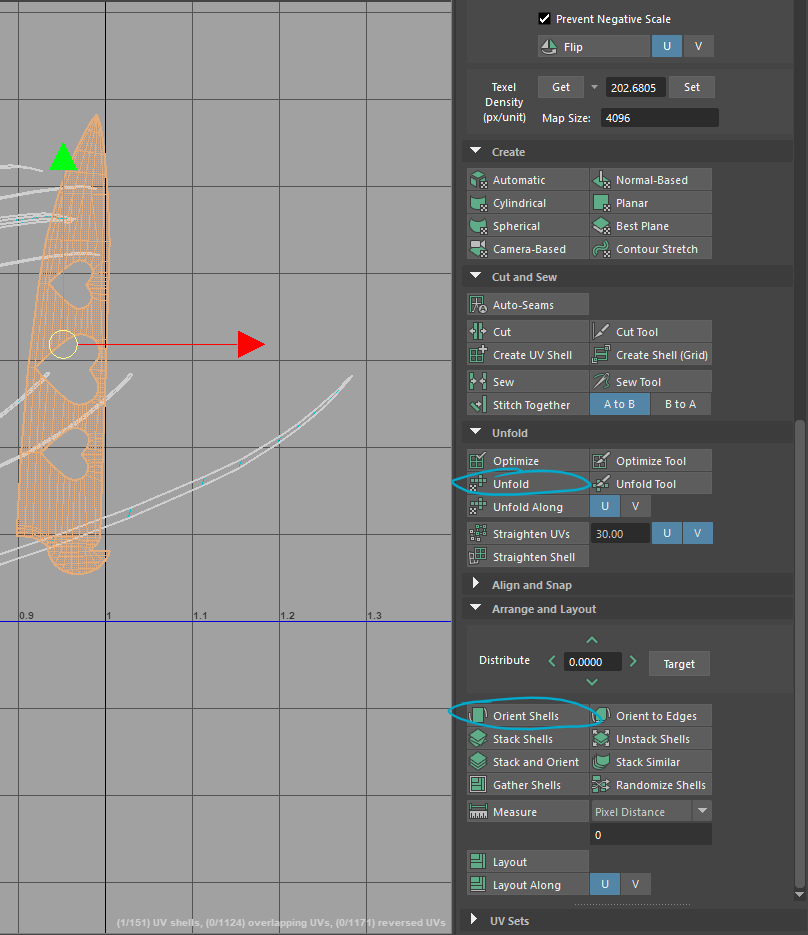
When the pieces are all cut from the model, I use the unfold button under Unfold, as well as orient shells underneath Arrange and Layout. I rinse and repeat this process with all the UV shells.
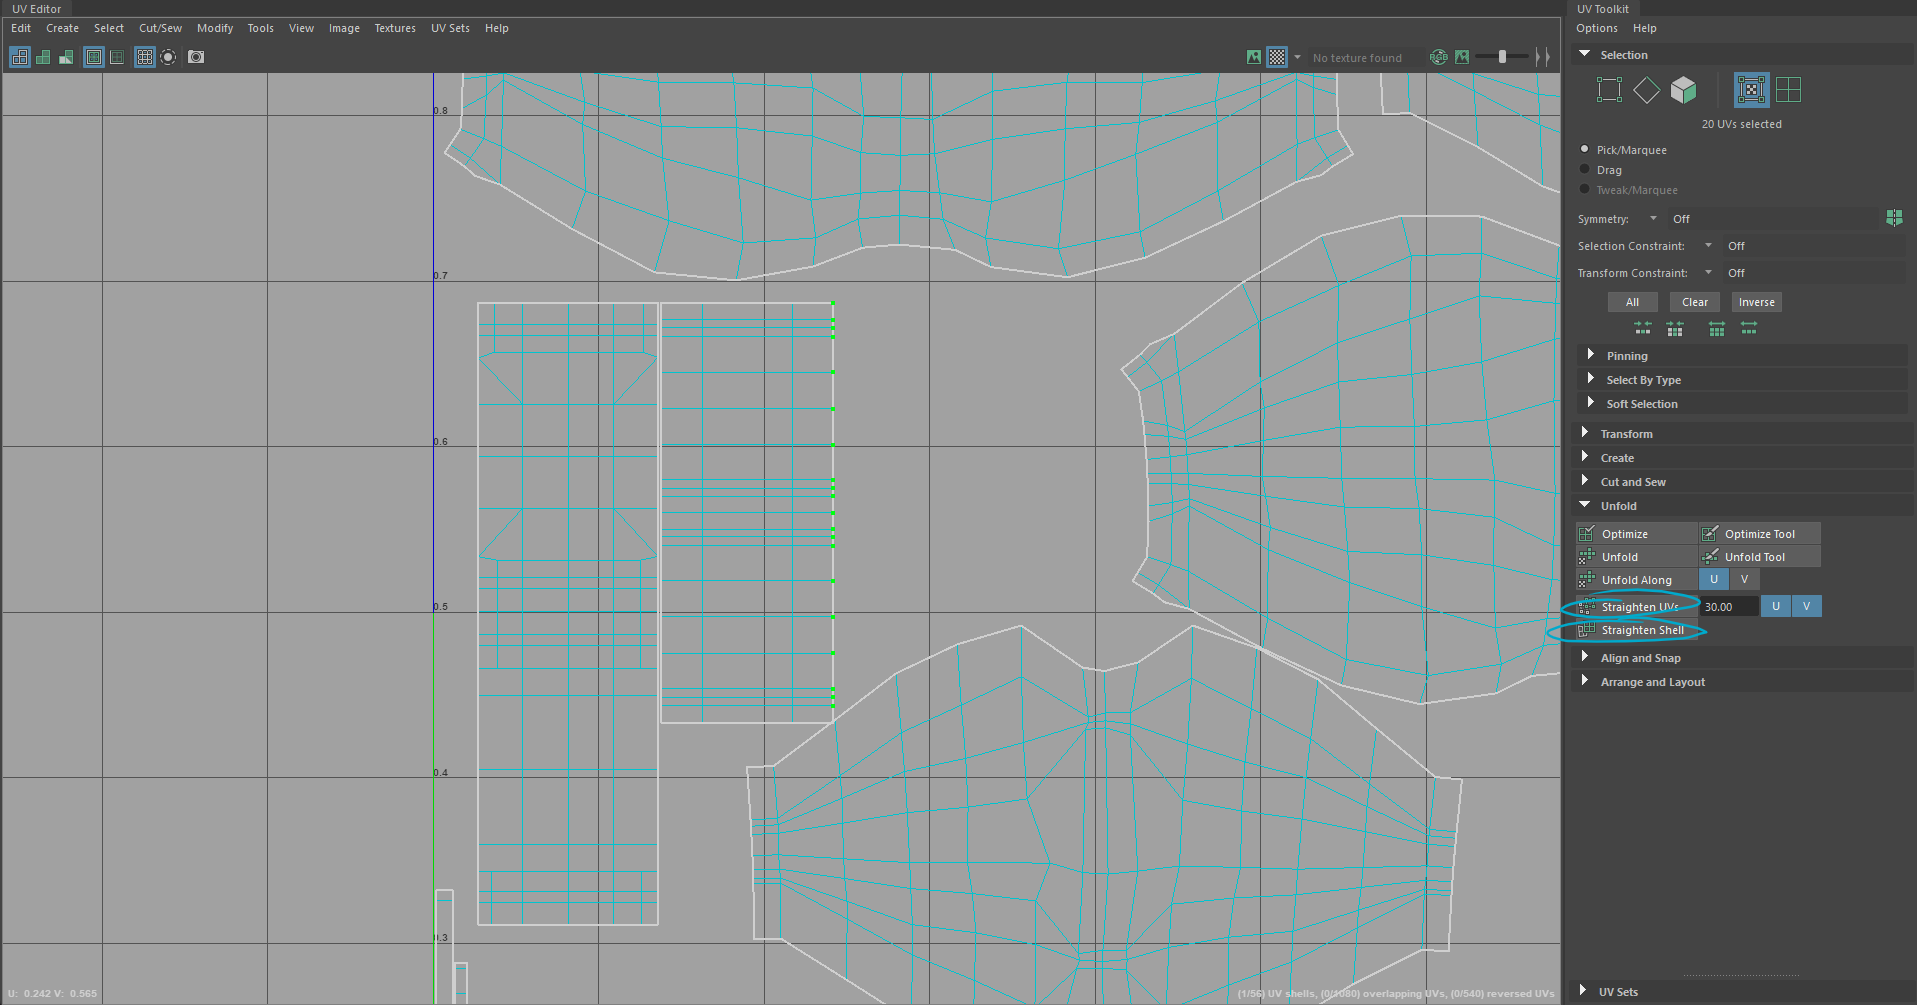
I use the texture below on my models to make sure my UVs are seamlessly transitioning and I am rotating them currently in the UV menu. You can put image textures by going to the hypershade in Maya, clicking the arrow icon beside color, and then clicking the option that lets you add image files. It's also best to straighten out any UV shells that might be slightly off, and to do this, I simply just click on the UV shell and click straighten shell, if that doesn't work too well, I right-click and click and click on UV, and I select certain points of the shell (the green vertices) and click Straighten UV.
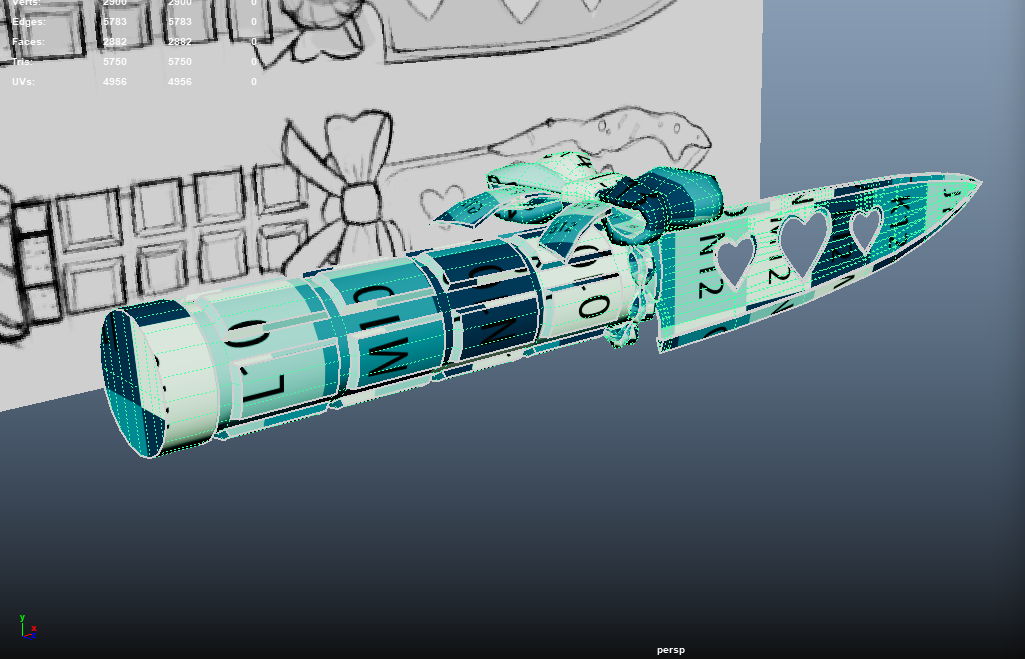
In terms of laying the UVs out, there is an automatic Layout option that does a pretty good job, in my case I set everything to the same texel density (by selecting one UV shell, and then getting it under the Transform tab, and then setting it with the rest of the UV shells selected) and just laid out the UVs in the best way I could. To save some space and time, if some parts were exactly identical, I just did one half of a certain area, then used the symmetry tool so that it would UV the other half.
Unreal:
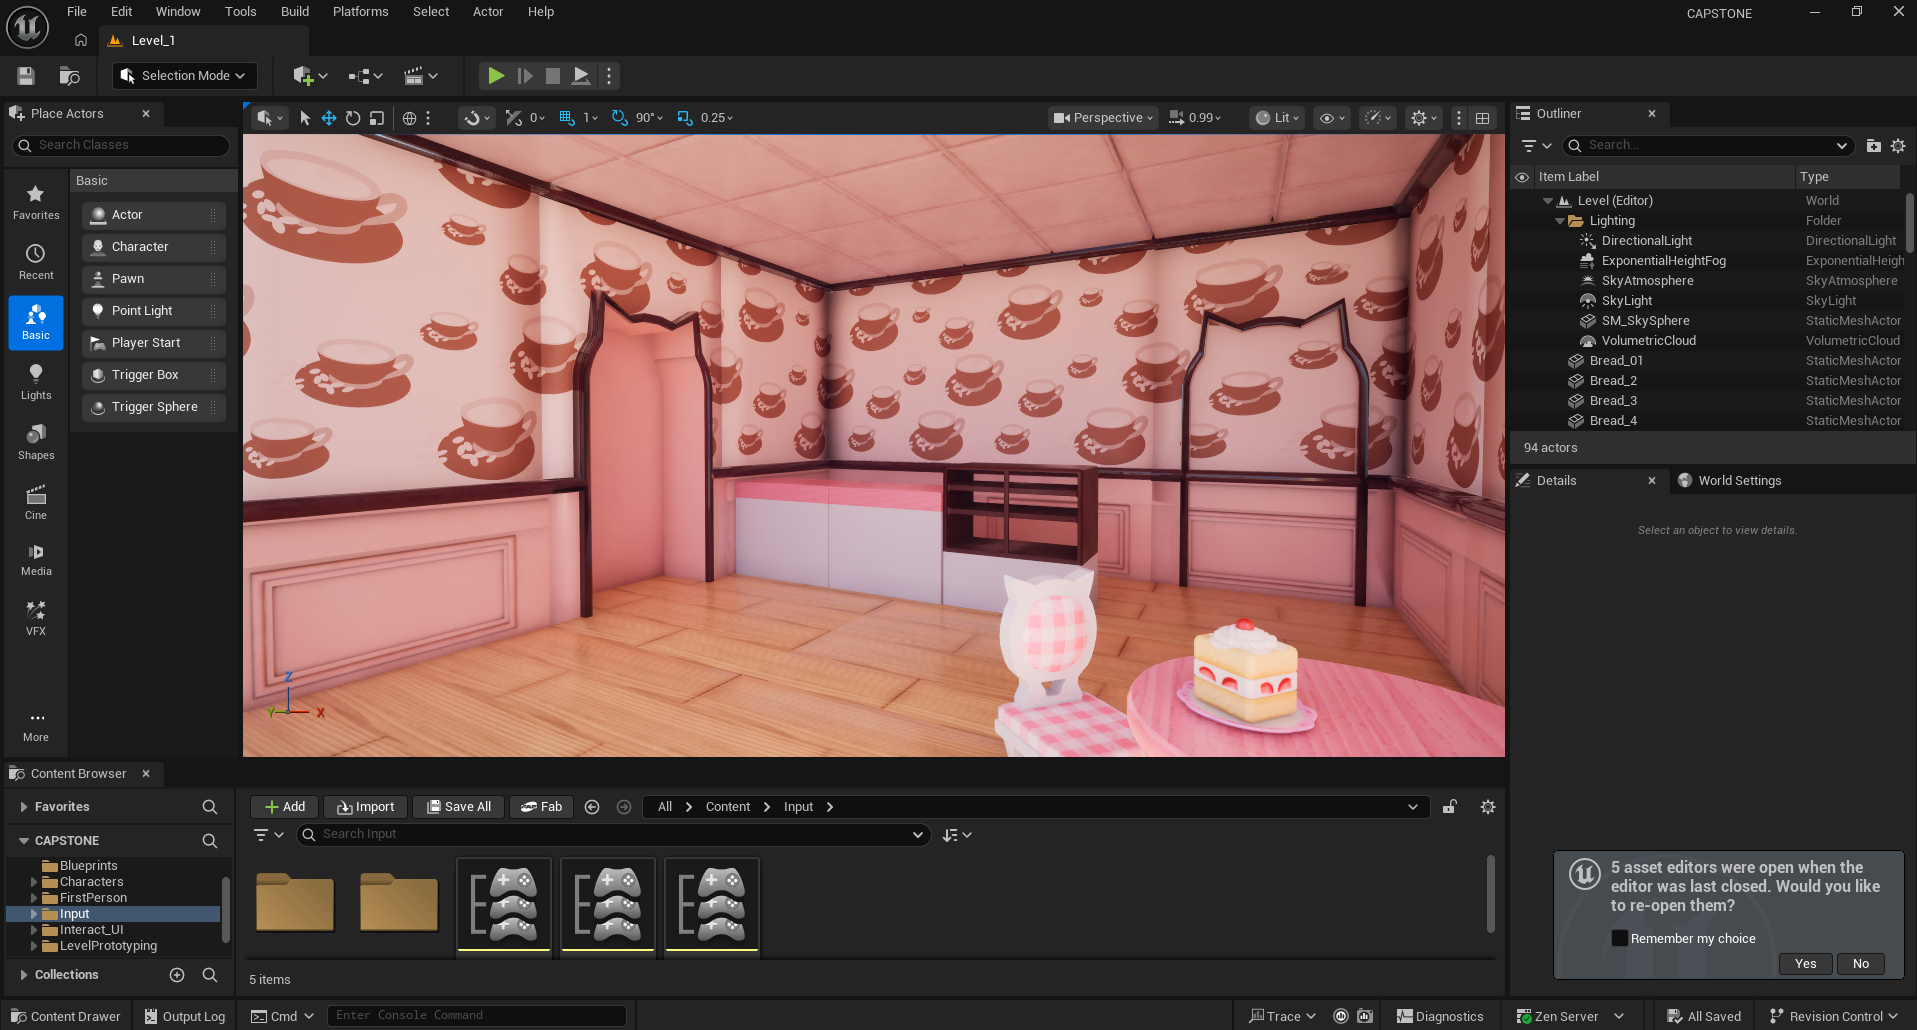
I had my awesome friend Mika let me use a modular kit they had made from a previous project for mine! So I started on blocking out some idea for the level. I also finished the inspect feature.
Leave a comment
Log in with itch.io to leave a comment.